A Beginner's Guide to Astrophotography: Capturing the Night Sky
Astrophotography, the art of photographing celestial objects, is one of the most rewarding photography genres. Whether you're capturing the grandeur of the Milky Way or the mystical glow of distant galaxies, astrophotography allows you to explore the beauty of the universe. In this guide, we'll walk you through the essential steps to get started with astrophotography.
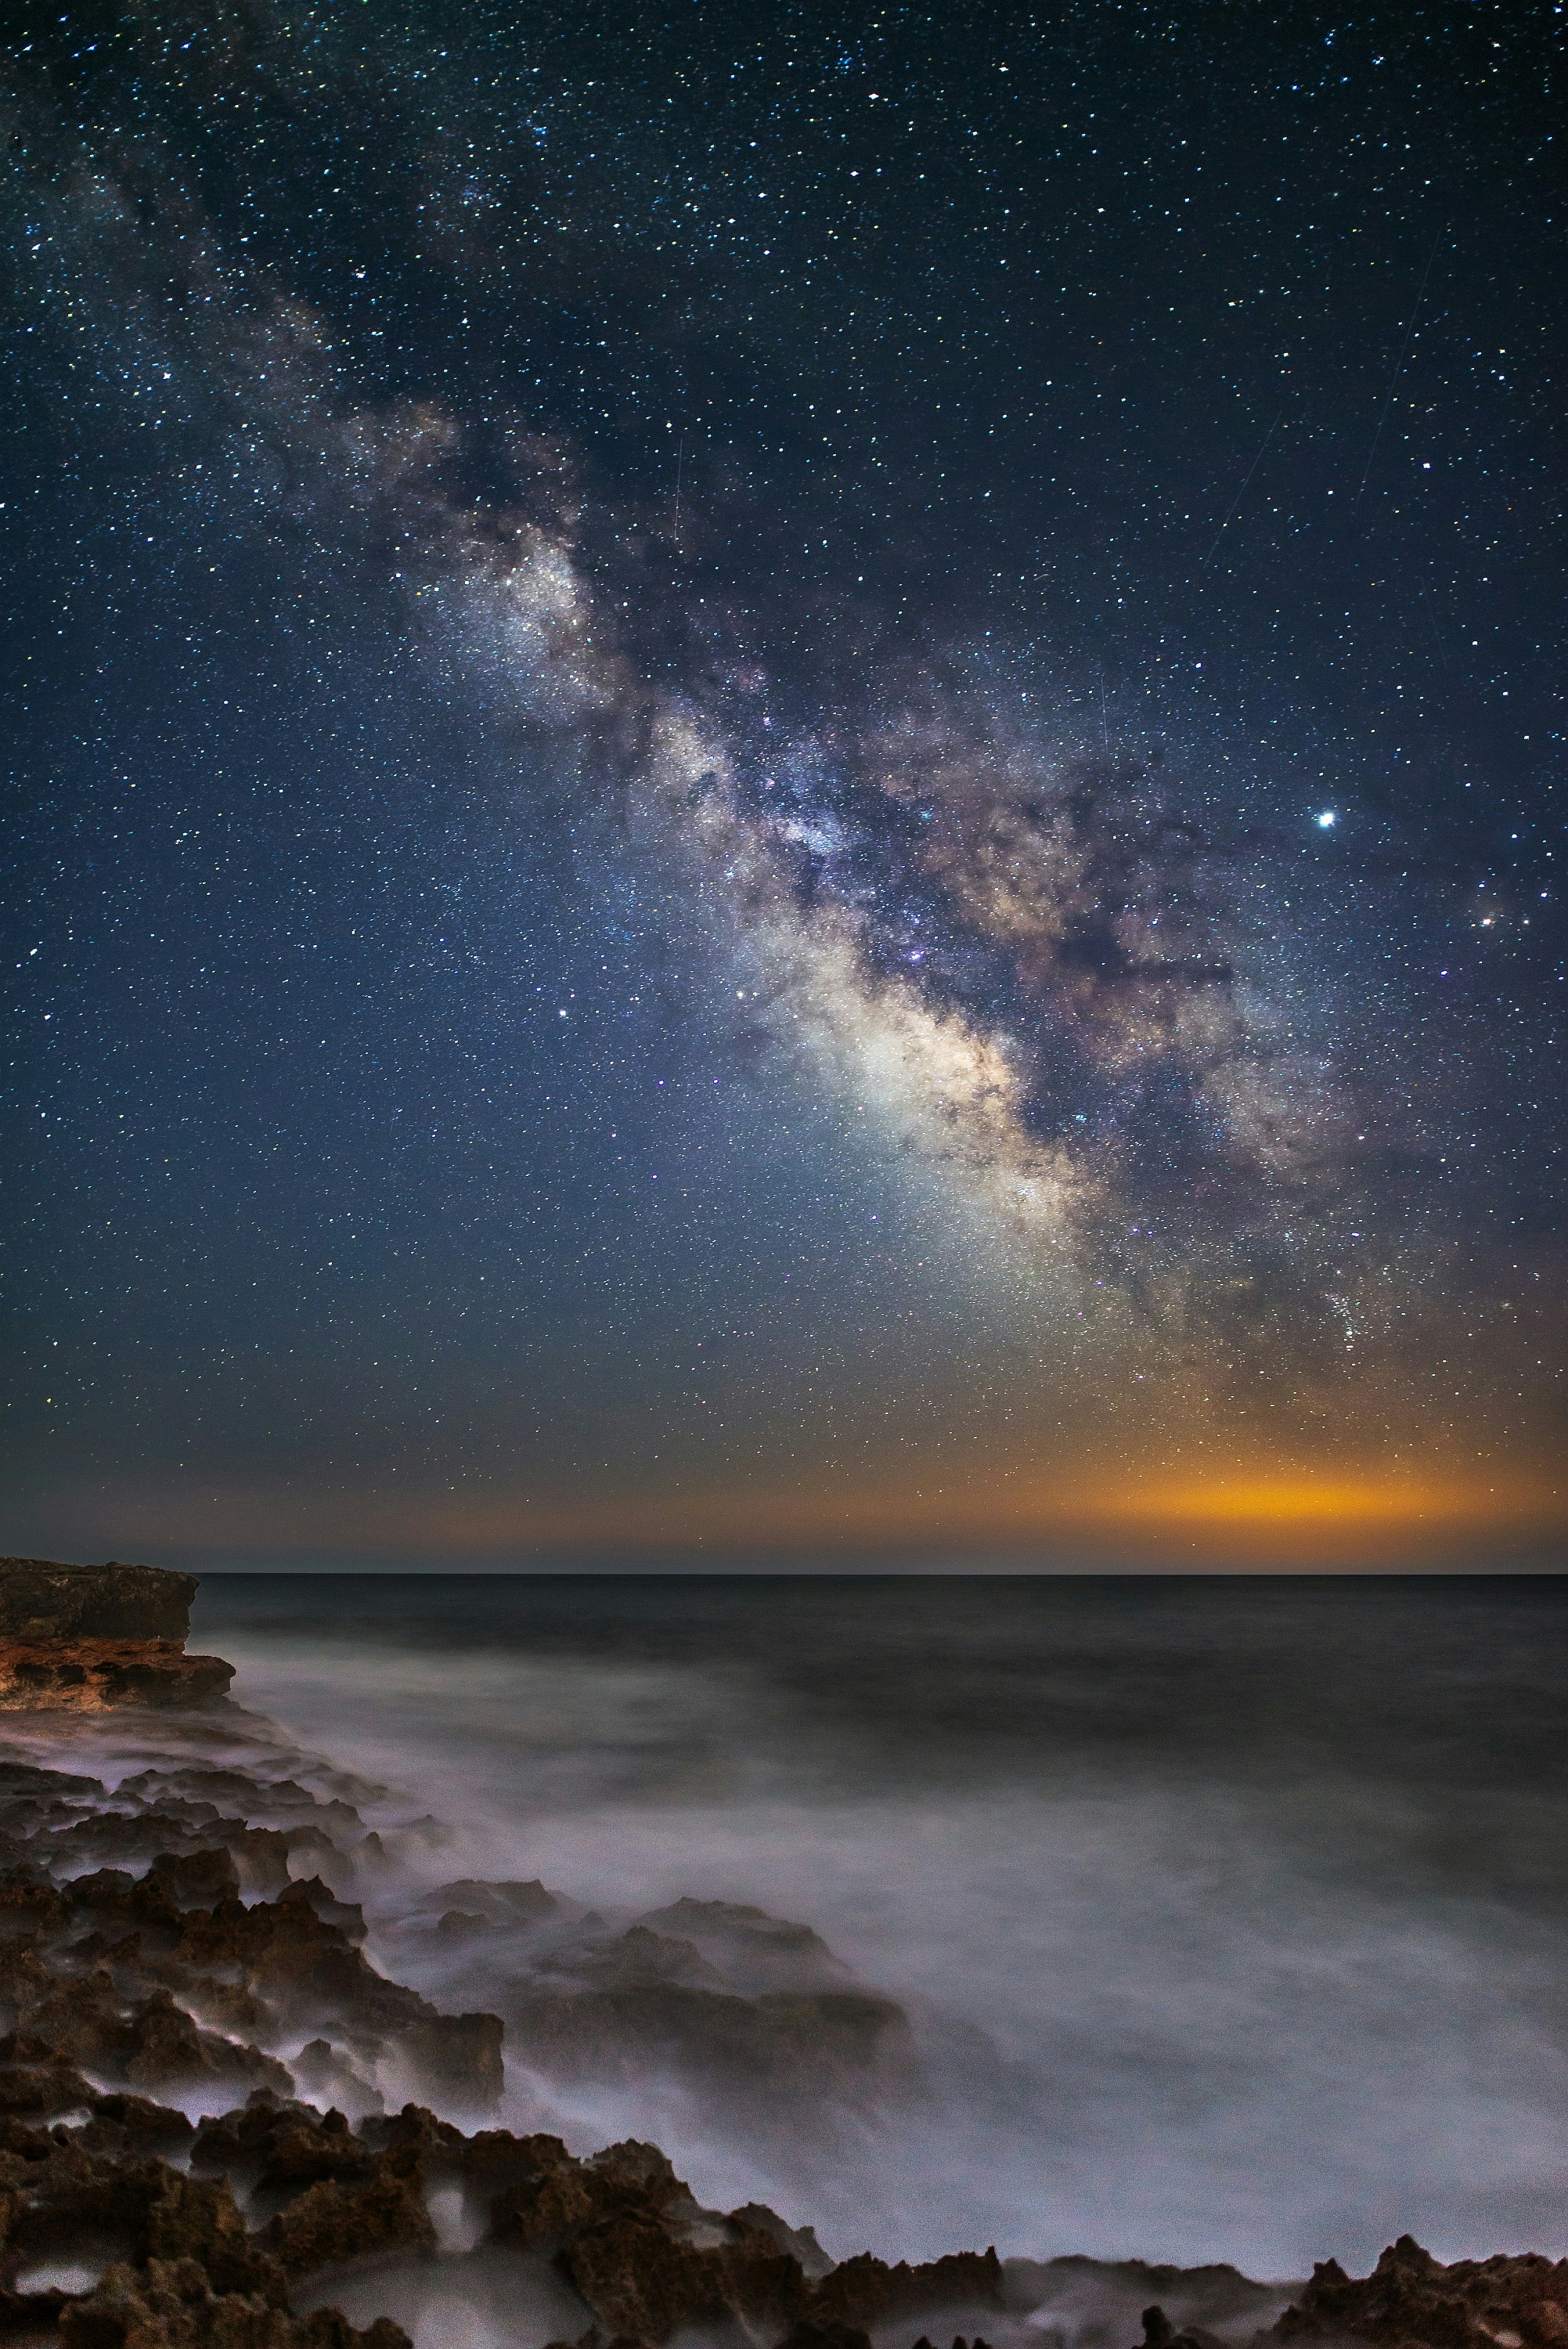
The Milky Way captured with a wide-angle lens
Why Astrophotography?
The night sky is a vast canvas filled with wonders, and astrophotography lets you preserve and share these breathtaking moments. With the right equipment and techniques, even beginners can capture stunning images of stars, planets, and nebulae.
Essential equipment for astrophotography: Camera, tripod, and wide-angle lens
What You Need to Get Started
1. A Camera and Lens
While professional astrophotographers often use DSLRs or mirrorless cameras, modern smartphones with manual mode (or apps like EXIFrame for EXIF data optimization) can produce incredible results. For advanced users, pairing a DSLR with a wide-angle lens is ideal for capturing expansive nightscapes.
Star trails created using long exposure techniques
2. A Sturdy Tripod
Stability is key when shooting long exposures. A robust tripod will ensure your camera remains steady during shots.
3. Remote Shutter Release
Using a remote or a timer prevents camera shake when triggering the shutter.
4. Dark Skies
Light pollution is the enemy of astrophotography. Seek out dark-sky locations away from city lights for the best results. Tools like light pollution maps can help you find the perfect spot.
Pro Tip
Use EXIFrame to analyze your EXIF data after shooting. This helps you understand which settings worked best in different lighting conditions and locations.
Camera Settings for Astrophotography
Astrophotography often involves trial and error, but these settings are a great starting point:
- Mode: Manual (M)
- ISO: Start at 1600 and adjust based on results
- Aperture: Set your lens to its widest aperture (e.g., f/2.8)
- Shutter Speed: Use the "500 Rule." Divide 500 by your lens's focal length to calculate the maximum exposure time before stars appear as trails. For a 20mm lens, this would be 25 seconds (500 ÷ 20 = 25)
- Focus: Manually focus on the brightest star. Use your camera's live view and zoom in to fine-tune focus
Tips for Stunning Shots
1. Plan Ahead
Use apps or websites like Stellarium or PhotoPills to find the best times and locations to shoot specific celestial events.
2. Capture RAW Images
Shooting in RAW format gives you more flexibility in post-processing to enhance details and colors.
3. Use the EXIFrame Advantage
After capturing your photos, analyze and optimize EXIF metadata with EXIFrame. Understanding your settings helps refine your techniques and improve future shots.
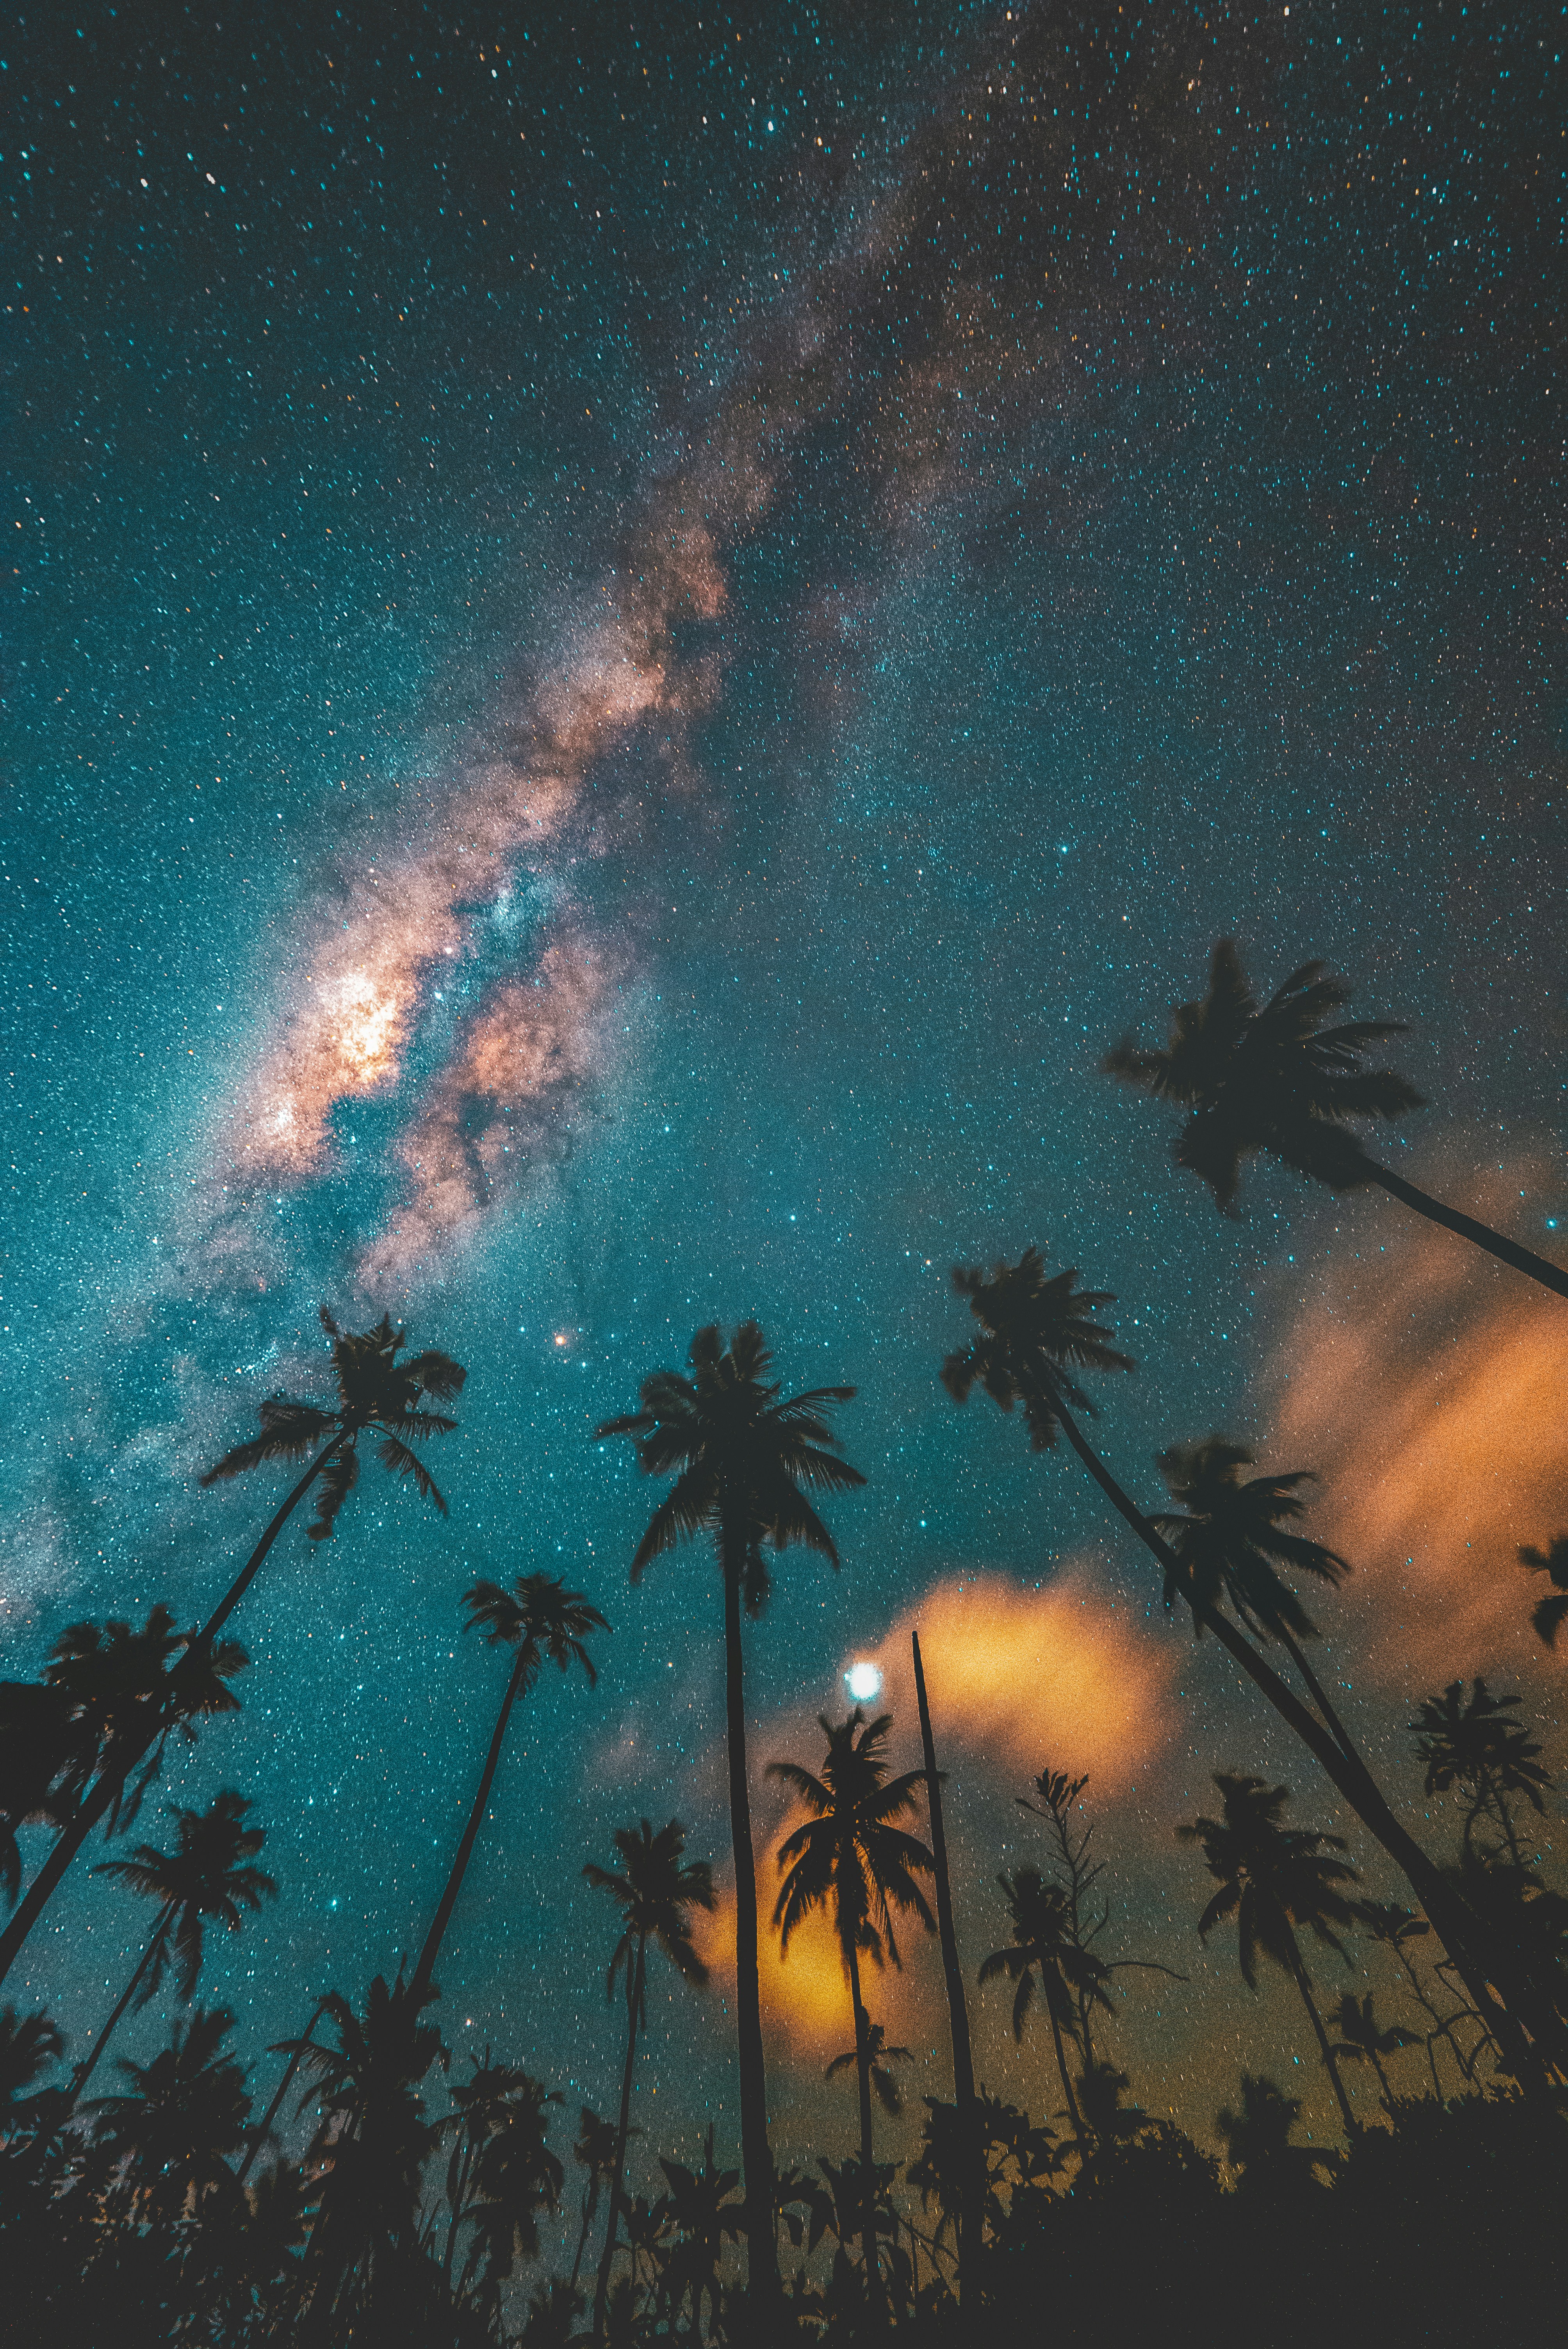
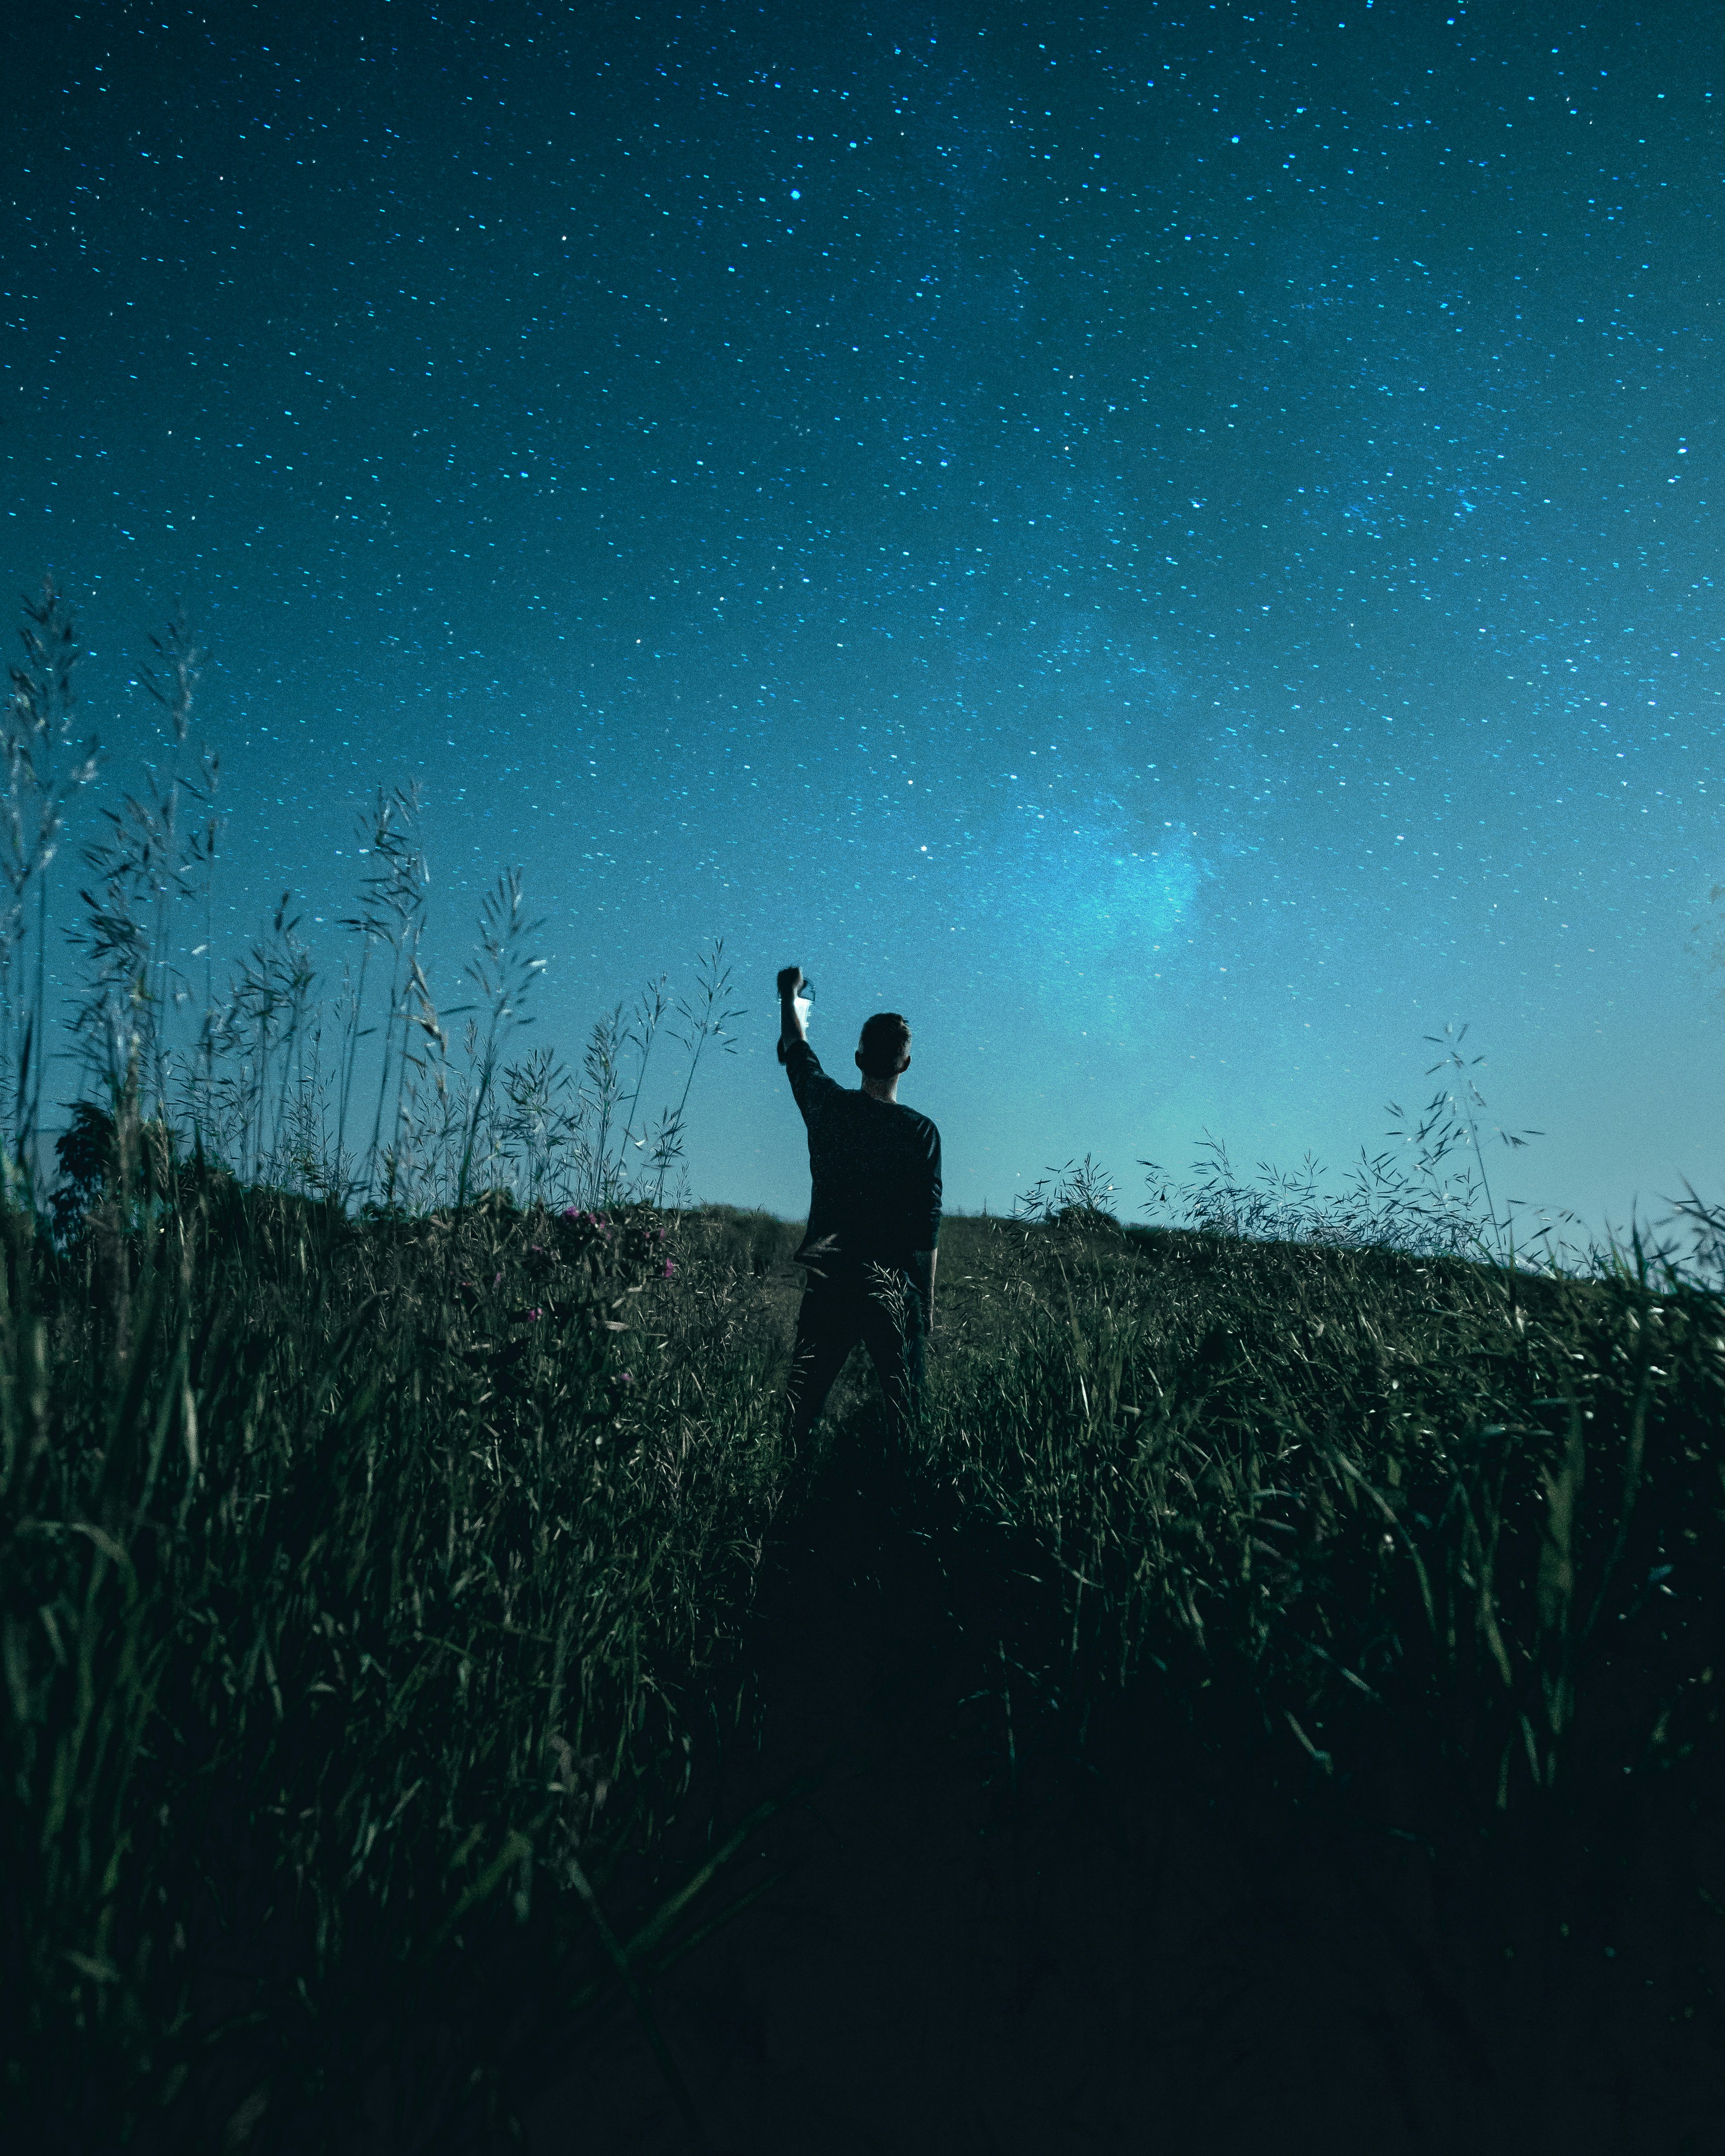
4. Experiment with Foreground Elements
Include silhouettes of trees, mountains, or buildings to add depth and context to your photos.
Post-Processing
Editing plays a significant role in astrophotography. Tools like Lightroom or Photoshop can enhance contrast, reduce noise, and bring out the colors of stars and nebulae. Use EXIFrame to retrieve EXIF metadata and analyze settings that worked well.
Common Challenges
- Light Pollution: Use light pollution filters or travel to darker locations.
- Noise: Higher ISO can introduce noise; counter this with noise reduction during editing.
- Focus Issues: Manually focus and use live view to ensure sharp stars.
Conclusion
Astrophotography is a journey of discovery. With patience, practice, and the right tools, you can capture mesmerizing images of the cosmos. Whether you're just starting or looking to refine your skills, EXIFrame can help you optimize your photography by providing detailed insights into your EXIF data.
Ready to Start Your Astrophotography Journey?
Download EXIFrame to analyze and optimize your camera settings for better night sky photography.
Get EXIFrame Now